
Settings
1. Click Setup:

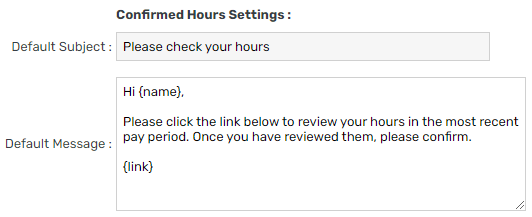
2. Scroll down to Confirmed Hours Settings
3. To update the Default Subject and/or Default Message, edit the respective field(s):
4. If Send new link is ticked, this will update the confirmed hours process according to this help document. If you wish to continue with the old version, untick this box:

5. To lock the timesheets upon sending the confirmation, tick Lock timesheets when sending:

6. To view a comparison between the hours actually worked for the given period and the employee’s weekly contracted hours, tick Show contracted hours:

For example, April’s Contracted Hours are 48, however, she worked 40 hours this period. This indicates a shortfall of 8 hours which could potentially indicate the possibility of a missed 8-hour timesheet for this period:

Send confirmation (manager)
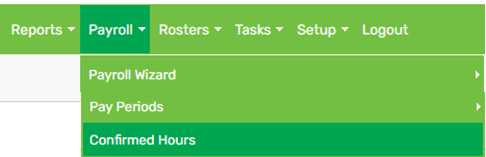
1. Hover on Payroll, click Confirmed Hours:
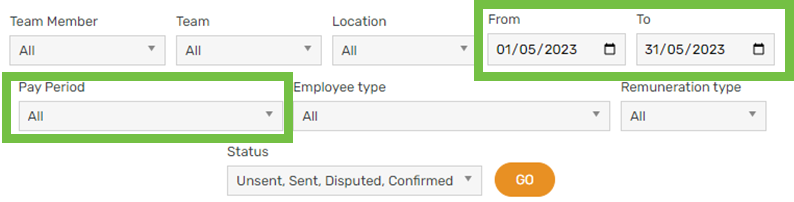
2. Select a Pay Period or date range and any other refinements, then click GO:
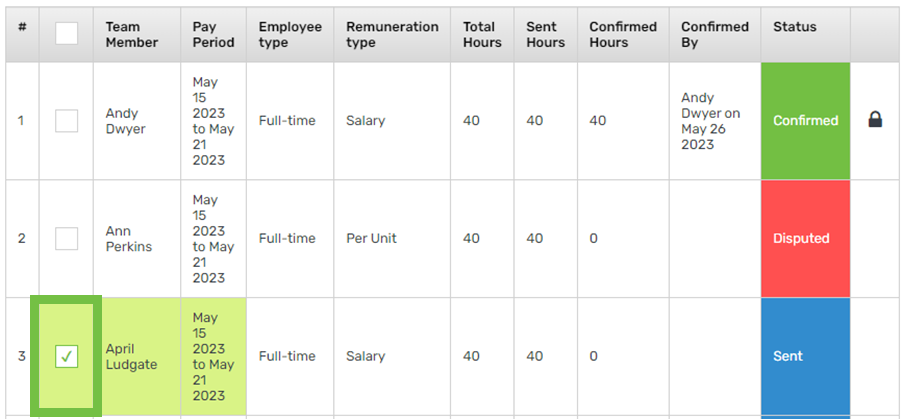
3. Choose the employees who should receive confirmation of their hours by selecting their respective checkboxes. To select all employees at once, click the checkbox in the grey header section:

4. Click Send confirmation:

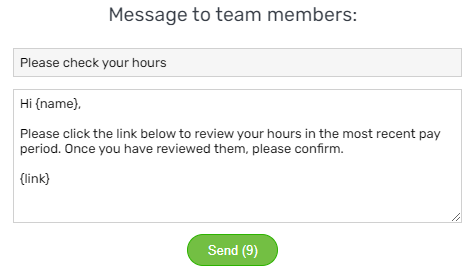
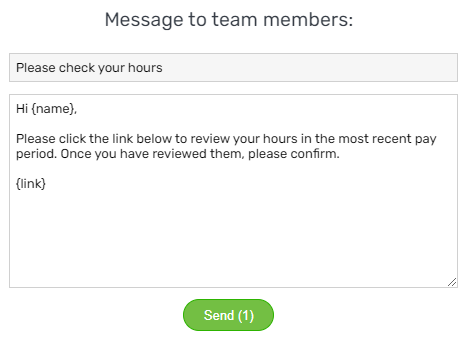
5. Review the message, then click Send:
6. Click Close
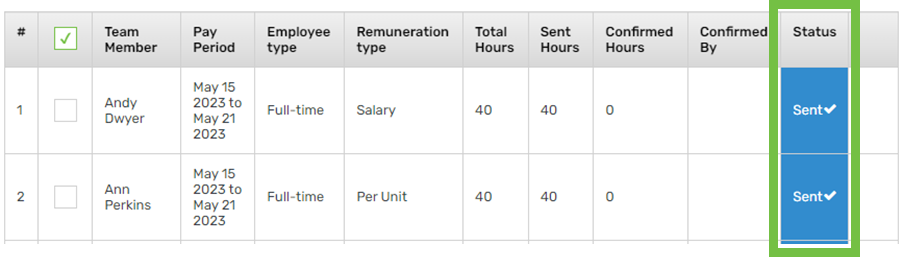
The Status should show as Sent:
Confirm hours (employee)
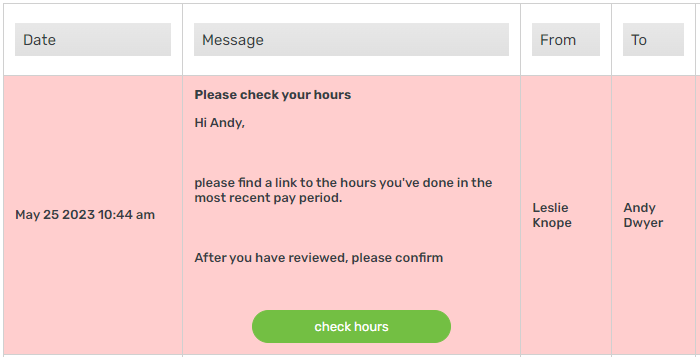
1. Click on the envelope icon:

2. Click Check hours:
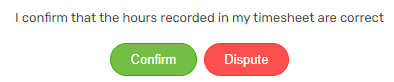
3. Review your hours and then scroll down to the bottom and click Confirm:
Dispute hours (employee)
1. Click on the envelope icon:
2. Click Check hours:
3. Review your hours and then scroll down to the bottom and click Dispute:
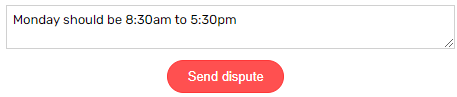
4. Enter a reason then click Send dispute:
Check confirmation (manager)
1. Hover on Payroll, click Confirmed Hours:
2. Select a Pay Period or date range and any other refinements, then click GO:
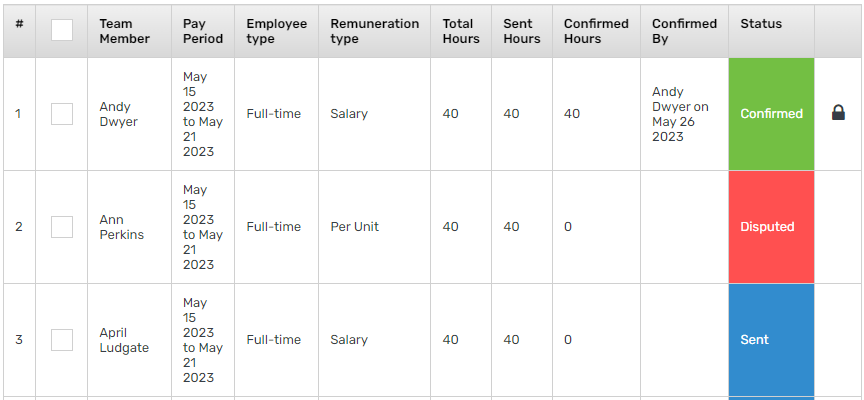
The Status column shows what’s been Confirmed, Disputed and not yet actioned (Sent):
Action disputed hours (manager)
1. Hover on Payroll, click Confirmed Hours:
2. Select a Pay Period or date range and any other refinements, then click GO:
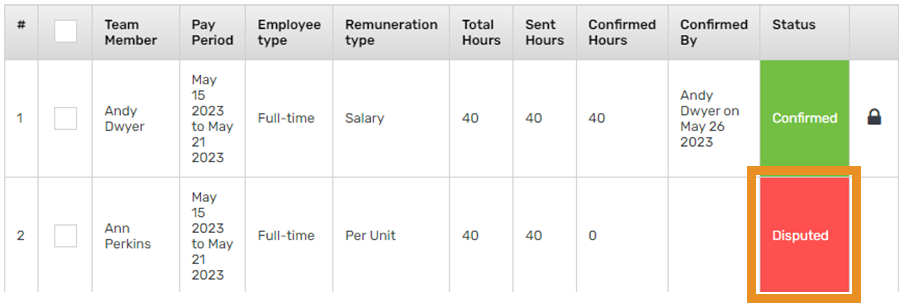
3. Click on Disputed:
4. Review the employee’s reason, then click Close:

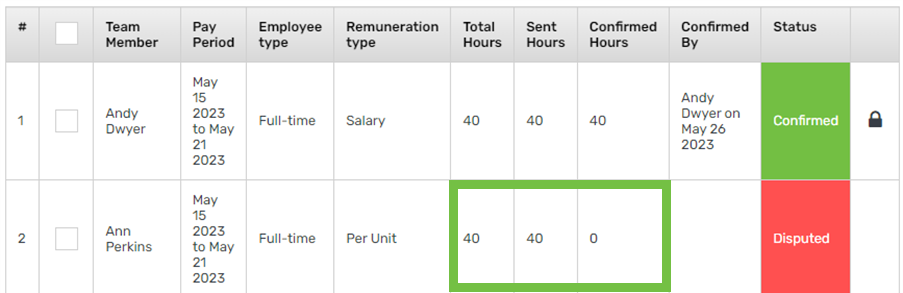
5. If you agree with the employee’s reason and need to make an adjustment(s) to their timesheet(s), click the hours in the Total Hours, Sent Hours or Confirmed Hours column:
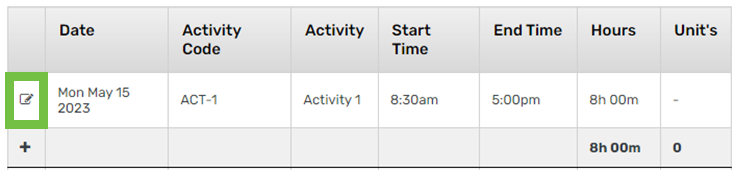
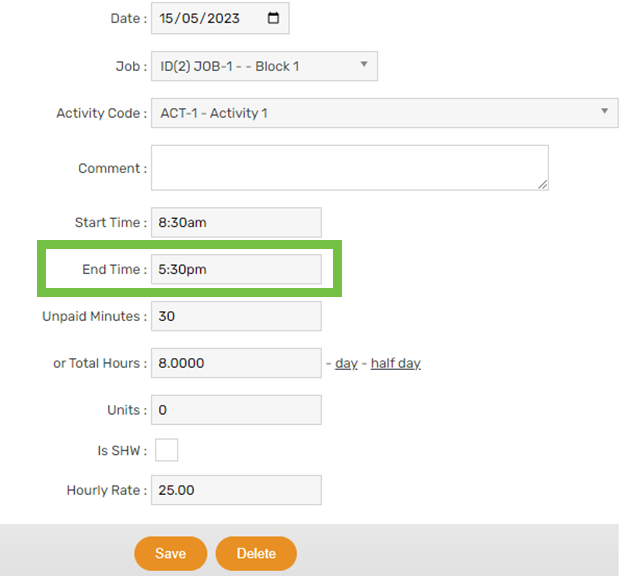
6. Click the edit icon on the timesheet that needs to be amended:
7. Make the change(s), then click Save:
8. Repeat if required
9. Resend the confirmation. For help on this, refer to the Resend confirmation (manager) section below
Resend confirmation (manager)
1. Hover on Payroll, click Confirmed Hours:
2. Select a Pay Period or date range and any other refinements, then click GO:
3. Choose the employee(s) who should receive another confirmation of their hours by selecting their respective checkbox. To select all employees at once, click the checkbox in the grey header section:
4. Click Send confirmation:
5. Review the message, then click Send:
6. Click Close