
General
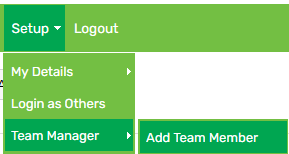
1. Hover on Setup > Team Manager > click Add Team Member:
2. Enter an Employee Code (optional)
3. Enter a Username
4. A password is automatically created (see orange highlight). To change this, input a new password in the blank field (see green highlight):

5. Enter the contractor’s First Name and Last Name
6. Select Contractor no WT in the Employee Type field
7. Select Per unit in the Remuneration Type field
8. Select Non-RSE in the RSE worker field
9. Select Nil in the Pay Frequency field
10. Select the contractor’s Start Date
11. Enter an Email Address (optional)
12. Enter a Job Title (optional)
13. Select a Team (optional)
14. Select a Primary Location and Other Locations (optional)
15. Select an Access Level. If you are unsure, select Just Payslip as this is the lowest access level. This can be updated at anytime.
16. Ignore the Remuneration % field
17. If the contractor should be authorised to approve employees’ leave, tick Approve Leave
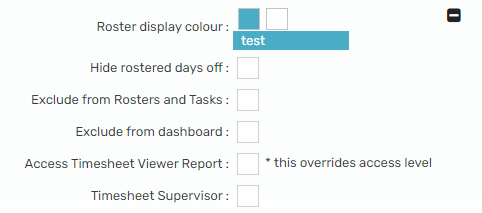
18. Click the plus icon to open additional settings:

19. Update the Roster display colour (optional) and tick any other options that apply:
20. Click Add
Notes (optional)
1. Click on the Notes tab:

2. Type a note in the blank field then click Add note
Reminders (optional)
1. Click on the Reminders tab:

2. Click Add reminder
3. Enter the reminder details, then click Save
Job Costing (optional)
1. Click on the Job Costing tab:

2. Enter the job costing details, then click Save
User Files (optional)
1. Click on the User Files tab:

2. Click Upload File
3. Enter the file details, then click Save
Preferences (optional)
1. Click on the Preferences tab:

2. The following information can be added here:
- Personal details
- Phone number(s)
- Address
- Gender
- Date of birth
- Next of kin details
- Visa details
- Nationality
- Passport number
- Job position
- Visa type
- Visa expiry
- Medical information
- Look, feel & security
- Multi-factor authentication
- Timesheet settings
- SWSAS deductions
3. Click Save
Teams (optional)
1. Click on the Teams tab:

2. Select the team(s) that the director/contractor will manage, then click Save